Tip
TipThe Scheduled Reports section helps you:
Tip
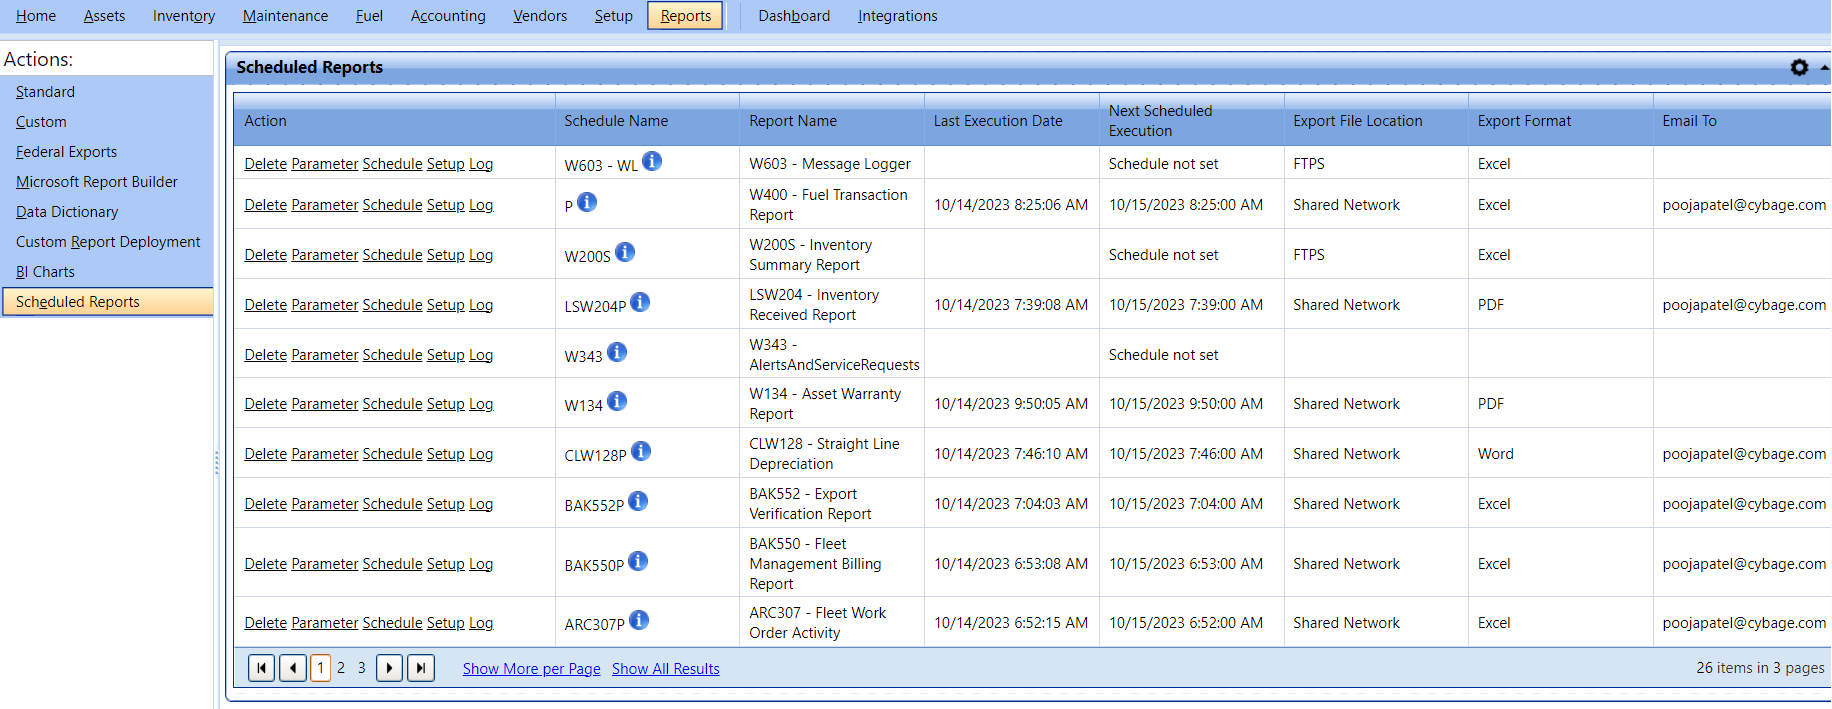
To view the Scheduled Reports page, click the Scheduled Reports link.
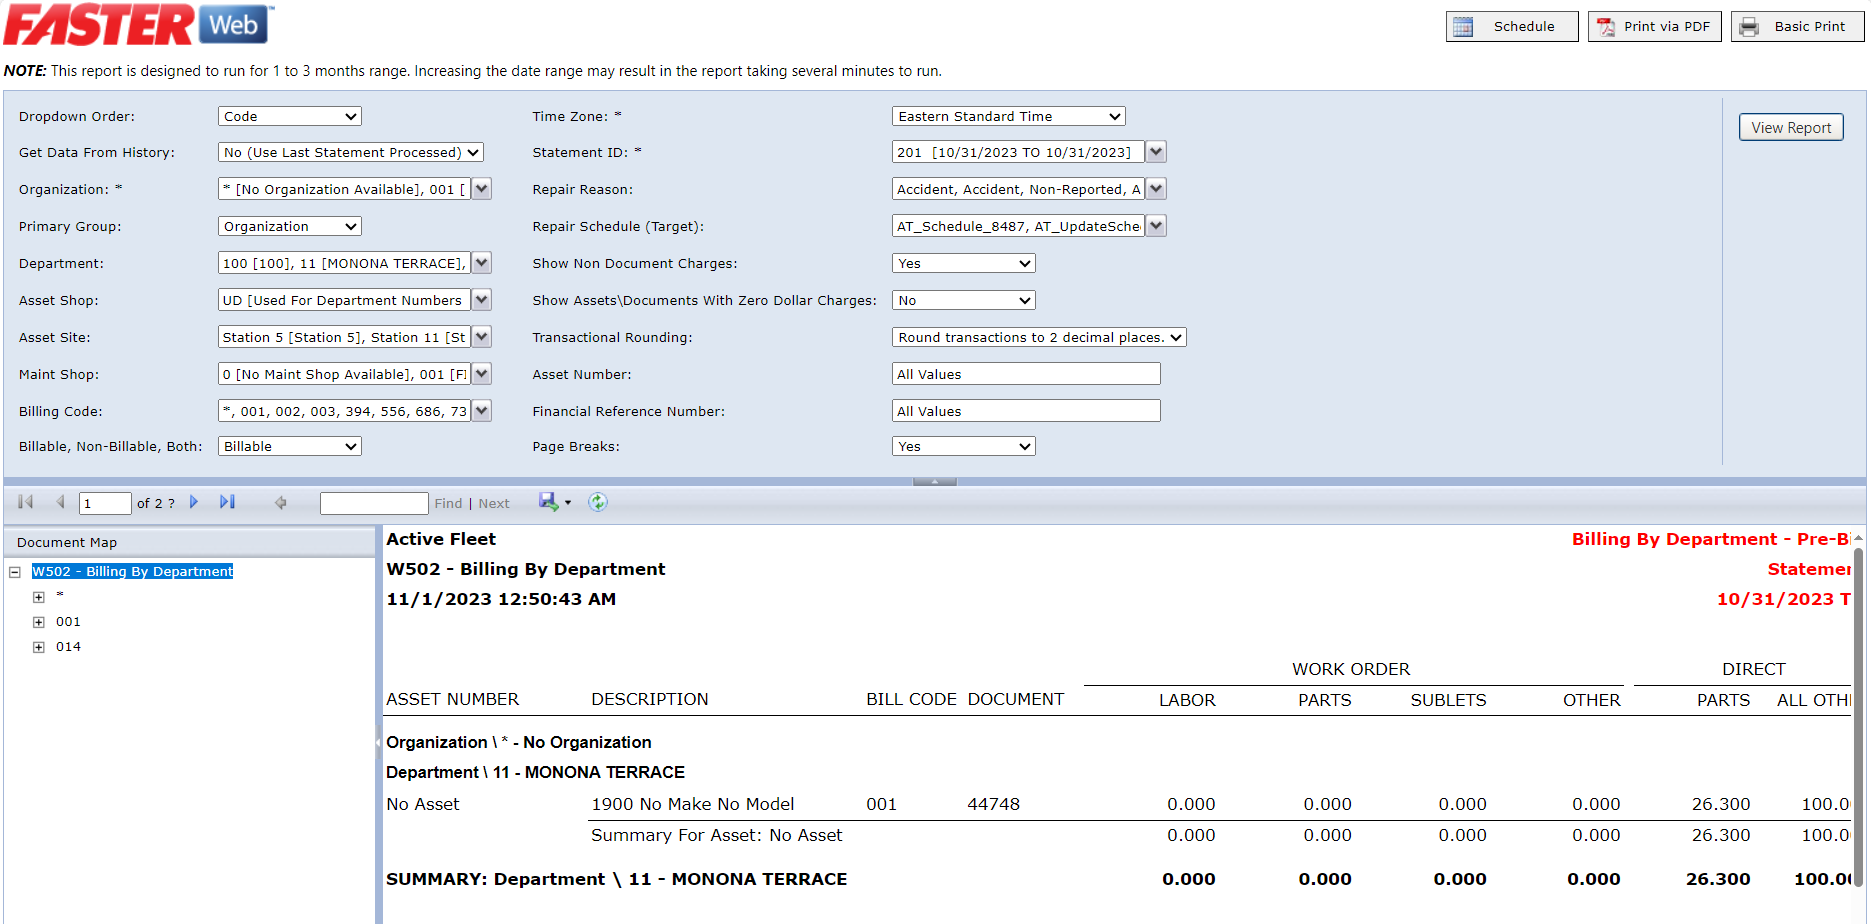
The Report can be scheduled while you generate a report.
Click the Reports tab.
The Standard window opens.
The report will be generated.
The Create Report Scheduler dialog box opens.
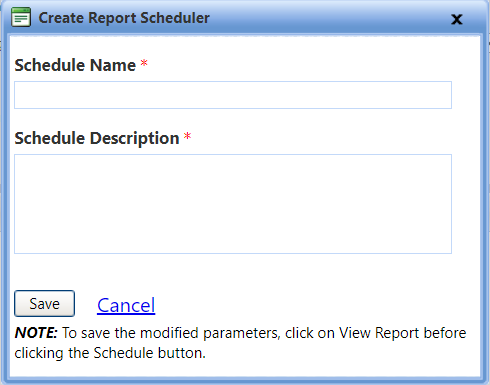
When finished, click one of the following:
The Scheduled Report can be deleted as per the requirement.
Click the Reports tab.
The Standard window opens.
The Scheduled Reports page opens.
The Confirm Delete Schedule dialog box opens.
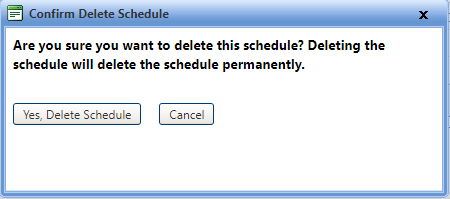
o Yes, Delete Schedule to confirm deletion.
o Cancel to close the dialog box.
The parameters can be set for a report as per the requirement before scheduling the report.
The Standard window opens.
The Scheduled Reports page opens.
The Report Viewer page opens.
Note: To save the modified parameters, click on View Report before clicking the Schedule button.
The Edit Schedule window opens.
o Type name of the schedule in the Schedule Name box.
o Type description of the schedule in the Schedule Description box.
o Click Save to save the Schedule details.
o Click Cancel to close the window.
The parameters can be set for a report as per the requirement before scheduling the report.
The Standard window opens.
The Scheduled Reports page opens.
The Create Schedule window opens.
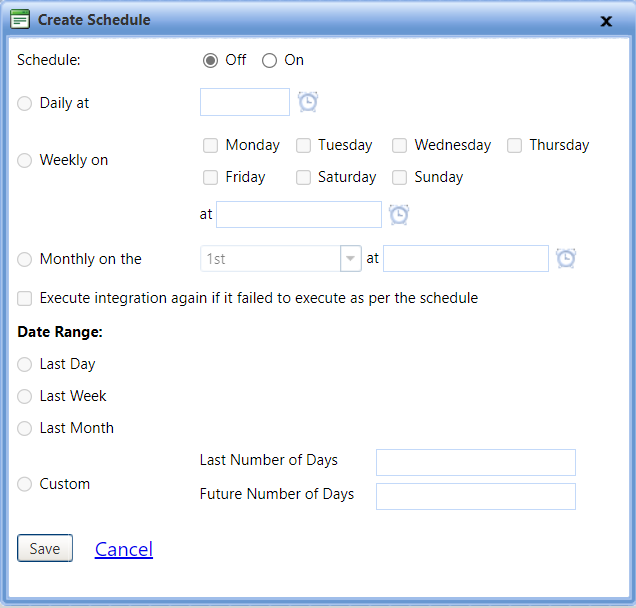
In the Create Schedule page, select On to enable the settings.
To schedule the report on daily basis, select the time from the time picker in the Daily at field to set the report schedule time.
To schedule the report on weekly basis, select a specific day or more than a day in the Weekly on field and time in the at field.
To schedule the report on monthly basis, in the Monthly on field, select the day from the drop down and time from the time picker.
Select the Execute integration again if it failed to execute as per the schedule, to try execute the integration again if it failed.
Select the Date Range by selecting the Last Day, Last Week, or Last Month.
|
Note: Date range selection will be optional,
|
The option helps to configure export and mail related settings for a report.
The Standard window opens.
The Scheduled Reports page opens.
The Edit Setup window opens.
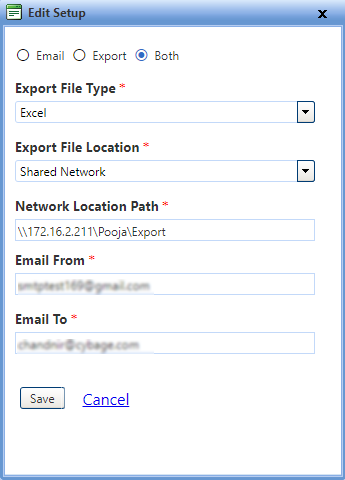
Select the type of setup: Email, Export, or Both.
Email - Selected by default. Only email related setting will be available and required.
Export - Only export related setting will be available and required.
In the Export File Type drop down, select the type of format for export. The formats available are Excel, PDF, and Word.
In the Export File Location drop down, select the location for export.
If Shared Network is selected, type the Network Location Path where the export file is to be saved.
IF SFTPor FTPS is selected, type the following details:
Server Host Name/IP Address: Type the host name or IP address of the server.
SFTP Server Username: Type the username of the SFTP server.
SFTP Server Password: Type the password of the SFTP server.
SFTP Server Port: Type the port of the SFTP server.
SFTP Directory Location: Type the directory location of the SFTP server.
In the Email From box, type the email address of the sender.
In the Email To box, type the email address of the receiver.
Note: Email To field supports multiple values separated with comma.
When finished, click one of the following:
The option helps to configure export and mail related settings for a report.
The Standard window opens.
The Scheduled Reports page opens.
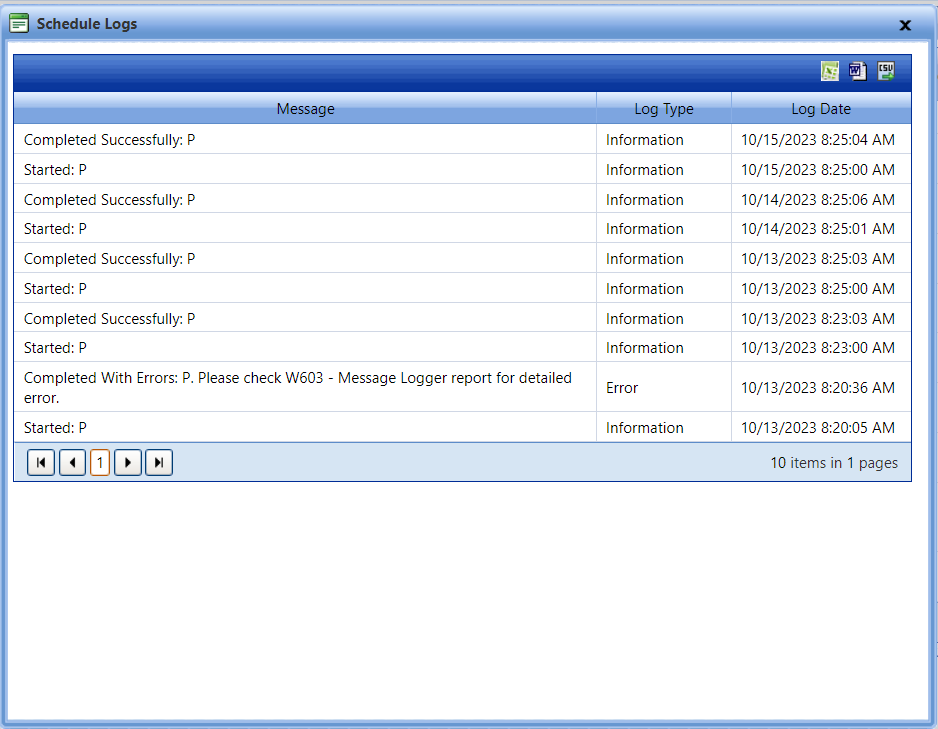
The Schedule Log window opens.